
Create Audiences

Sumary: Learn how to create audiences and maximize your credits with segmentation
Personalized audiences allow businesses to make the most of their customer data. These segments are created from valuable information about people who have previously interacted with your brand. Let’s explore how to create and leverage these custom audiences.
How to Create Audiences on Our Platform
The power of personalized audiences lies in their precision and relevance. By combining data like location, subscriber activity, contact device, or browser, you can form a well-defined group to target. Here’s the step-by-step:
- Start by navigating to the main screen of our platform.
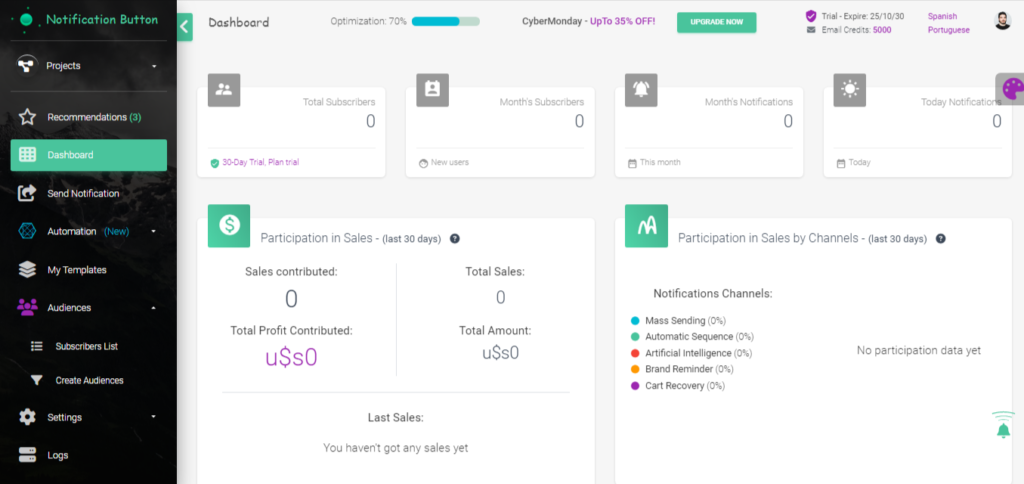
- In the left-hand menu, click on ‘Audiences’.
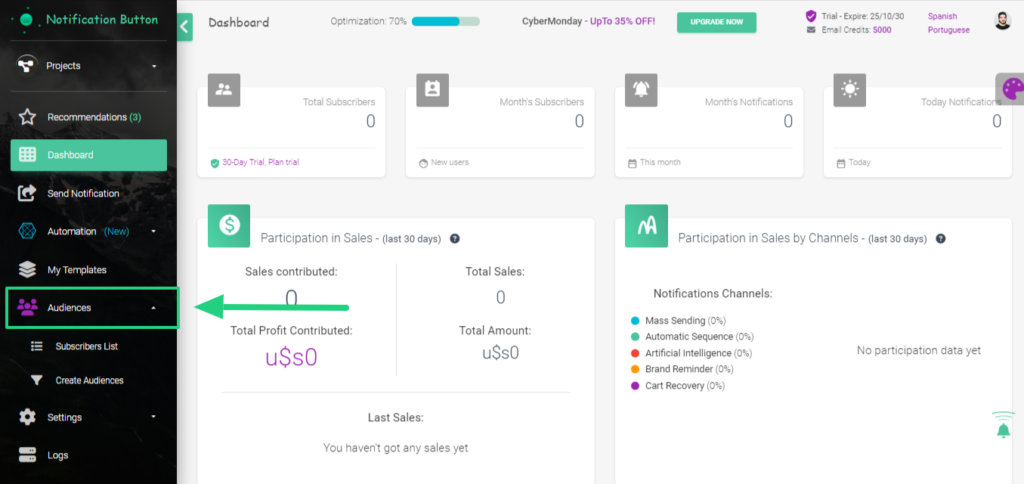
- A submenu will appear under ‘Audiences’. Look for and click on ‘Create Audience’.
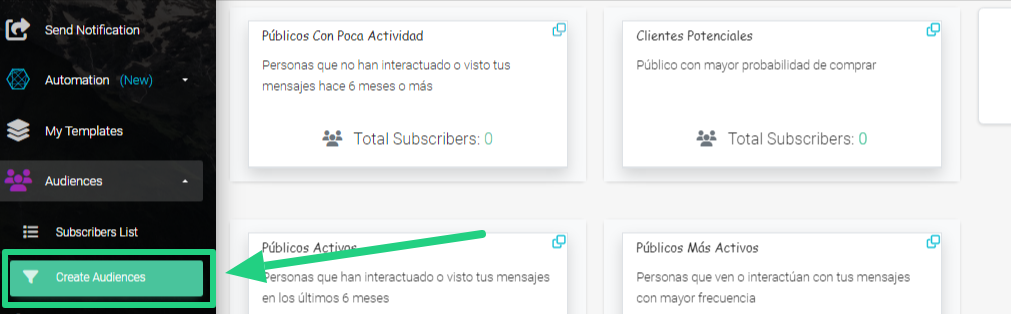
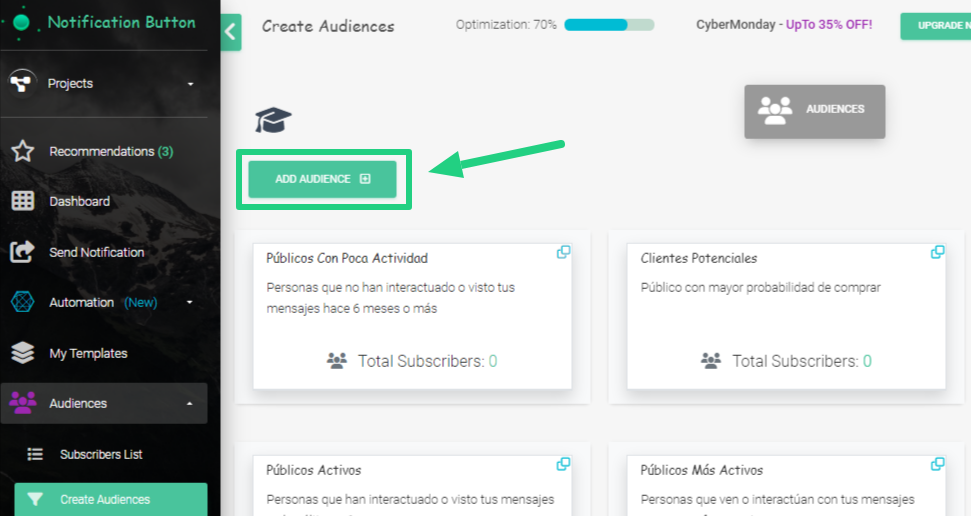
- The screen for creating audiences will appear. Click on the green button ‘Add Audience’.
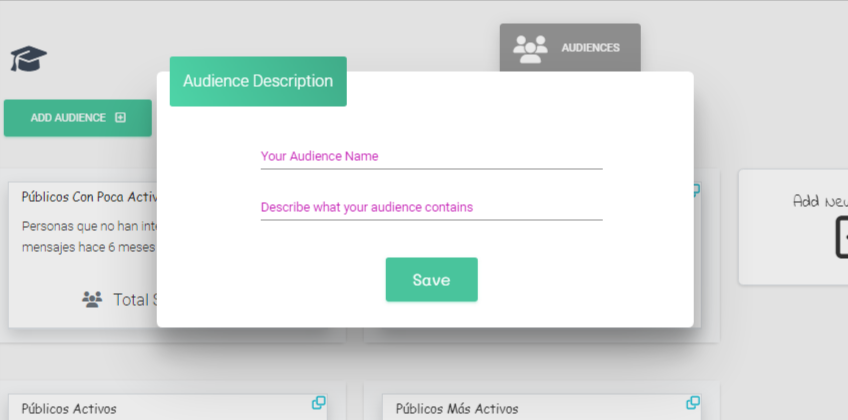
- A window will open where you need to enter the ‘Your Audience Name‘ and ‘Who will be included in your audience‘ We recommend using names related to your audience. For our example, let’s create an audience of iPhone users in Buenos Aires.
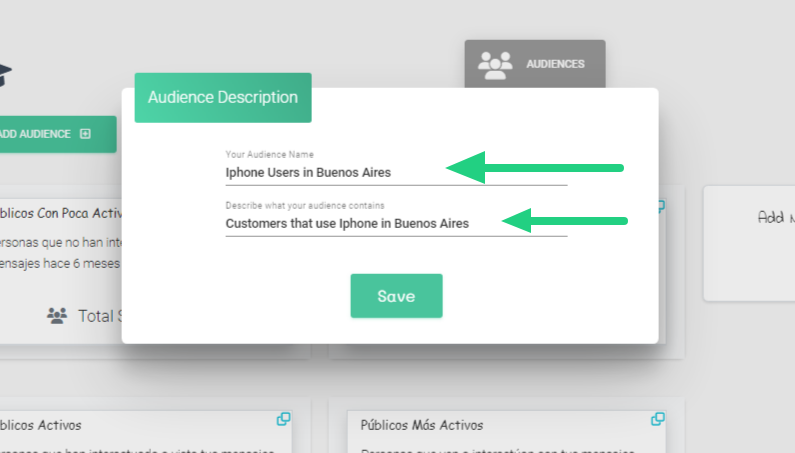
- Our group will be named ‘iPhone Users in Buenos Aires‘ and we will include all people who contact us from this type of device from the capital. Click ‘Save‘.
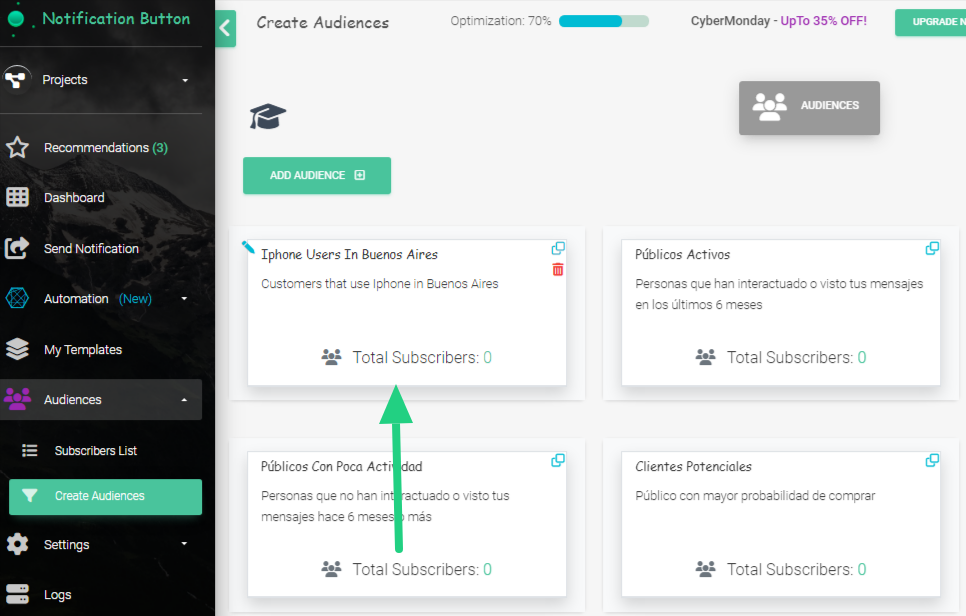
- The new Audience will show up on the dashboard. Now click on it to setup the segmentation.
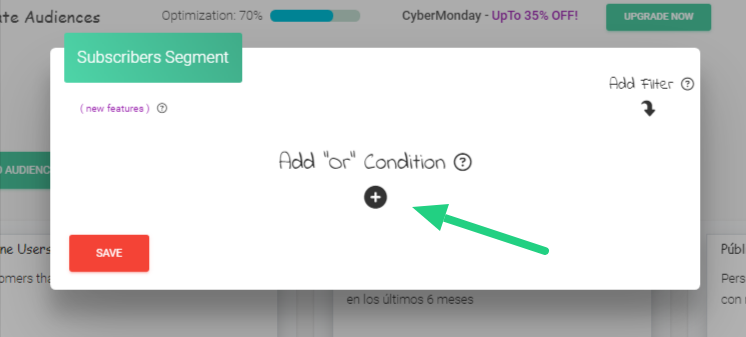
- A new window will show up, where we can add filters or conditions to the segmentation. Click on “+” under Add “or” Condition.
- Three columns will appear. Click on the first one, under ‘Filter Type,’ and a dropdown list will open. For our example, we will select ‘City.’ In the second row under ‘Condition,’ we will select ‘contains‘.
- In the third column under ‘Word or Phrase,’ we will add ‘Buenos Aires‘.
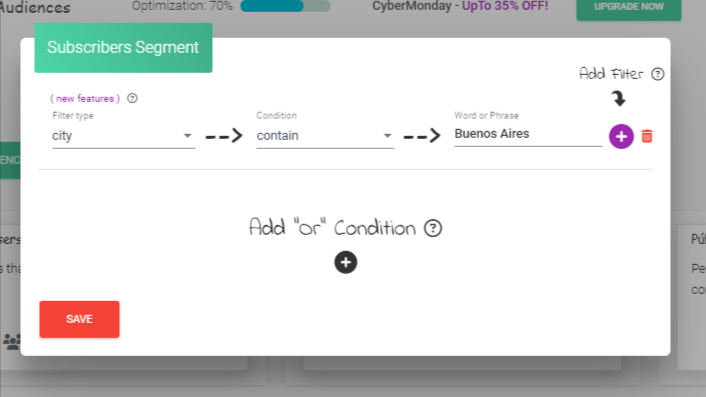
- Then we will click on the “+” button.
- Threemore columns will appear again, this time for device segmentation. We will select ‘Devices,’ ‘contains,’ and ‘iPhone‘ respectively.
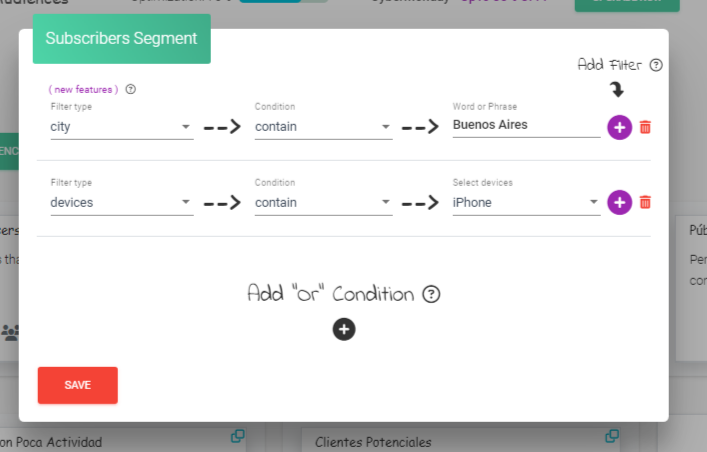
- Then click the red ‘Save‘ button. Done! You have now created a segmented and specific audience of people visiting your store from Buenos Aires using an iPhone.
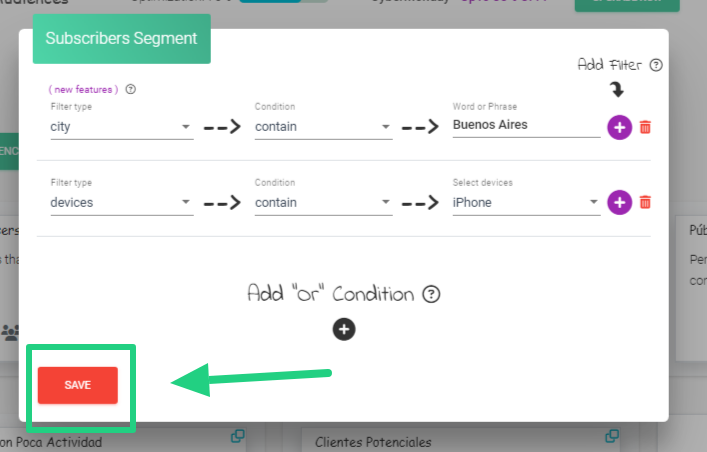
As you may have noticed, you can perform as many segmentations as you want by adding different available filters. You can also use the ‘or’ condition to broaden the scope of your initial segmentation. For example, we initially did it for Buenos Aires, but we can add ‘La Plata‘ or any other city or condition you need.


